前言
作为一个菜鸟级的初学者,笔者懵懵懂懂的花了点时间仿了一个必胜客的订餐小程序,希望能对一些有需要的朋友提供一点启发。
项目结构
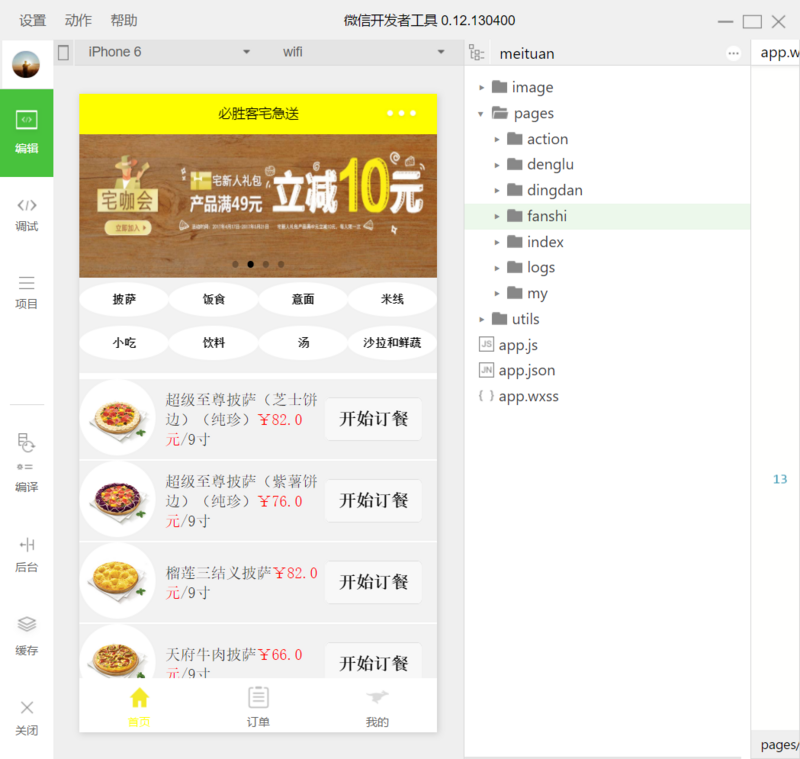
首页页面,结构如下图所示:
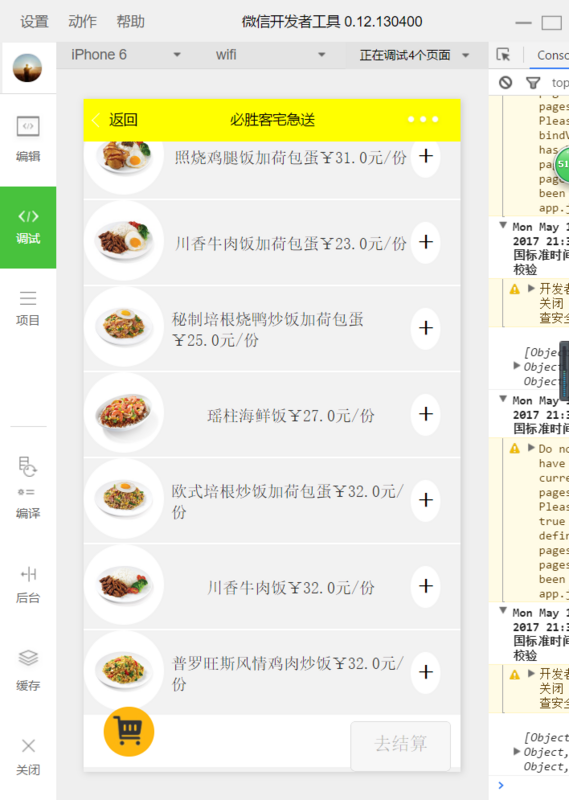
点击饭食,跳转到了饭食页面:
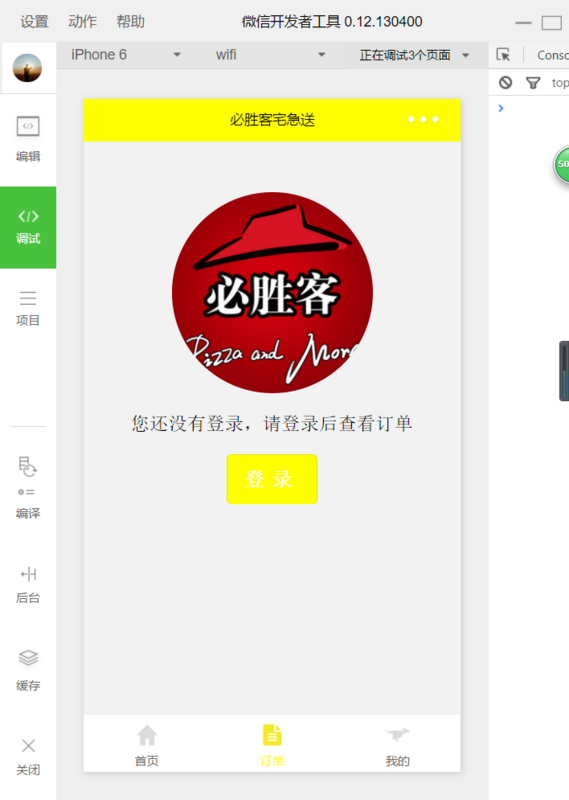
订单页面:
点击登录,跳转到登录页面:
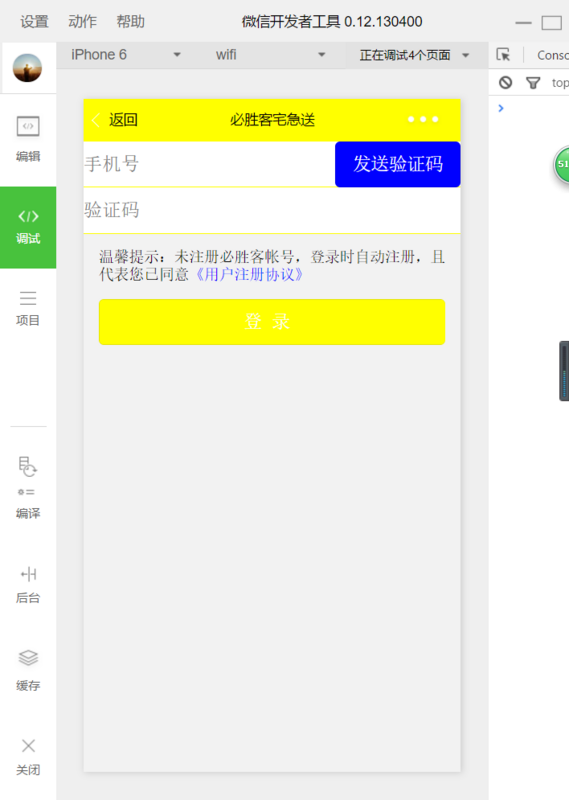
最后是我的页面:
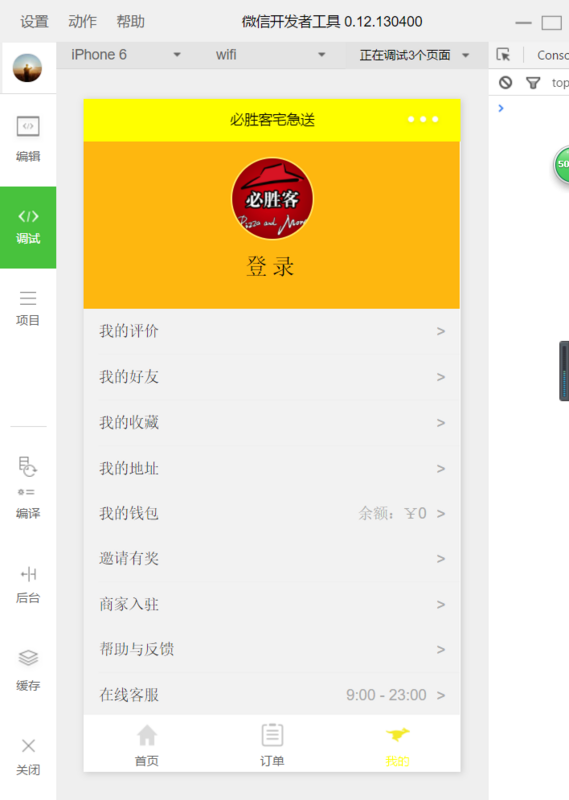
主要代码
app.json:
{
  "pages":[
    "pages/index/index",
    "pages/dingdan/index",
    "pages/my/index",
    "pages/action/action",
    "pages/denglu/denglu",
    "pages/fanshi/fanshi",
    "pages/logs/logs"
  ],
  "window":{
    "backgroundTextStyle": "light",
    "navigationBarTextStyle": "black",
    "navigationBarTitleText": "必胜客宅急送",
    "navigationBarBackgroundColor": "yellow",
    "backgroundColor": "#F2F2F2",
    "enablePullDownRefresh": true
  },
  "tabBar": {
    "color": "#666666",
    "selectedColor": "yellow",
    "borderStyle": "white",
    "backgroundColor":"#ffffff",
    "list": [{
      "pagePath": "pages/index/index",
      "iconPath": "image/1.png",
      "selectedIconPath": "image/2.png",
      "text": "首页"
    },{
      "pagePath": "pages/dingdan/index",
      "iconPath": "image/3.png",
      "selectedIconPath": "image/4.png",
      "text": "订单"
    },{
      "pagePath": "pages/my/index",
      "iconPath": "image/5.png",
      "selectedIconPath": "image/6.png",
      "text": "我的"
    }]
  }
}
1.实现首页头部轮播图效果
<swiper class="banner" indicator-dots="true" autoplay="true" interval="3000" duration="500">
    <block wx:for="{{banners}}" wx:key="id">
      <swiper-item>
          <image src="{{item.img}}"/>
      swiper-item>
    block>
swiper>
在index.js中设置数据
Page({
  data: {
    items:[],
    banners: [
      {
        id: 1,
        img: 'https://img.4008123123.com/resource/BannerP/Banner_1_2017_04_12_15_21_14.jpg',
      },
      {
        id: 2,
        img: 'https://img.4008123123.com/resource/BannerP/Banner_1_2017_04_12_15_40_55.jpg',
      },
      {
        id: 3,
        img: 'https://img.4008123123.com/resource/BannerP/Banner_1_2017_04_12_15_43_38.jpg',
      },
      {
        id: 4,
        img: 'https://img.4008123123.com/resource/BannerP/Banner_1_2017_04_12_15_46_28.jpg',
      }
    ]
  }
})
实现效果:

2.利用navigator实现页面的跳转
然后对该text 设置事件跳转。
toast: function() {
wx.navigateTo({
url: "../action/action" })
}
最后需要在 app.json 中添加页面配置
"pages":[
    "pages/index/index",
    "pages/dingdan/index",
    "pages/my/index",
    "pages/action/action",
    "pages/denglu/denglu",
    "pages/fanshi/fanshi",
    "pages/logs/logs"
  ]
3.利用Easy Mock 模拟一个数据库到了这一步,估计有些刚入门的朋友是不太了解的Easy Mock,我在这简单的解释一下。EasyMock 是一套通过简单的方法对于指定的接口或类生成 Mock 对象的类库,它能利用对接口或类的模拟来辅助单元测试。
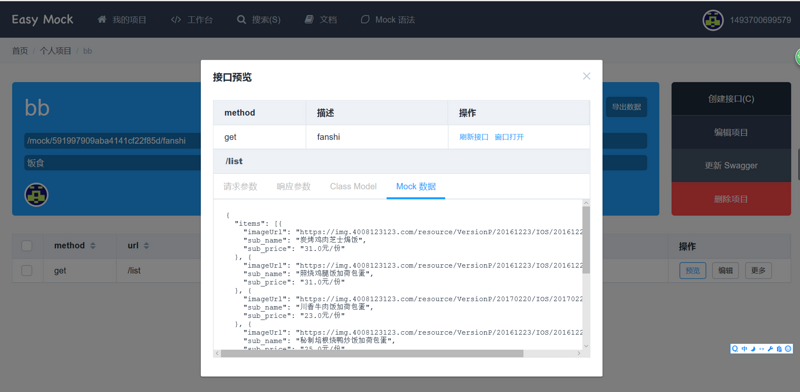
在Mock数据里面手动设置模拟数据,在点击窗口打开就可以得到我们想要的网站,然后在index.js中进行引用。
  onLoad: function () {
    var that = this;
    wx.request({
      url: 'https://www.easy-mock.com/mock/59082eb57a878d73716e5b73/aa/list',
      method: 'get',
      data: {},
      header: {
        'Accept': 'application/json'
      },
      success: function(res) {
        console.log(res.data.items);
        that.setData({
          items: res.data.items
        });
      }
    })
  }
最后在index.wxml中进行引用就可以实现首页数据的引用。
  <block wx:for="{{items}}" wx:key="item">
        <view class="flex item" bindtap="bindViewTap">
          <view class="item_left">
            <image src="{{item.imageUrl}}"/>
          view>
          <view class="flex_auto item_middle">
            <view>
              <text class="title">{{item.sub_name}}text>
              <text class="title price">¥{{item.sub_price}}text>
              <text class="title">{{item.sub_desc}}text>
            view>

          view>
          <view class="item_right">
              <navigator url="../action/action" class="action">
                <button>开始订餐button>navigator>
          view>
        view>
      block>
点击开始订餐,跳转到点餐页面:
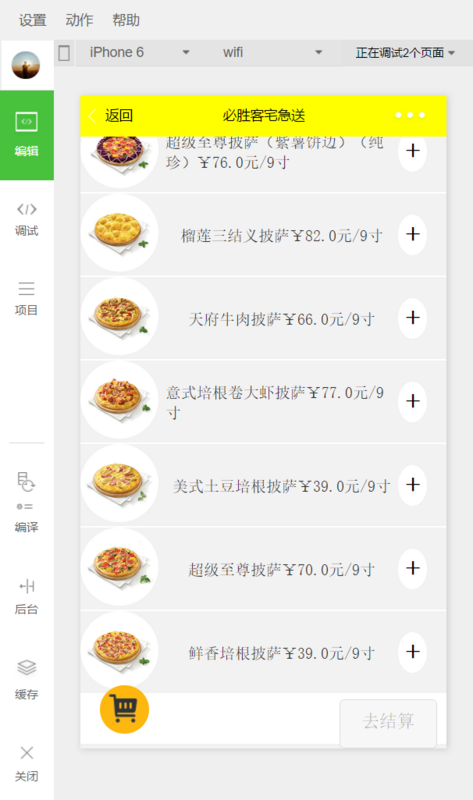
至此,这个必胜客小程序的首页页面就完成了,整个页面看起来还是听清爽的。至于订单和我的页面跟首页页面的设计思想相差不大,所以笔者也就不浪费时间在此展开来讲。由于笔者对于小程序这块也是刚入门,所以好多功能和API都没有添加,读者朋友要是感兴趣可以对照文档https://mp.weixin.qq.com/debu...添加各种功能。获取源代码可以点击https://github.com/Ernest9631...。
最后,再次申明这是笔者刚入门的处女作,要是各位大佬发现了本文的不足欢迎批评指正。啰嗦了这么久,希望本文能对有需要的人朋友提供些许帮助,溜了溜了。
|


